

As industries and consumers increasingly seek innovative, sustainable, and durable materials, the role of resin in various applications has grown significantly. But what exactly is resin, and why has it become so crucial in today's world?
Traditionally, natural resins were extracted from trees, particularly conifers, and were used for centuries in applications ranging from varnishes to adhesives.However, in modern industry, synthetic resins, created through chemical processes, have largely taken center stage.
Synthetic resins are polymers that start in a viscous or semi-solid state and can be cured into a solid material. This transformation is typically initiated by heat, light, or chemical additives.
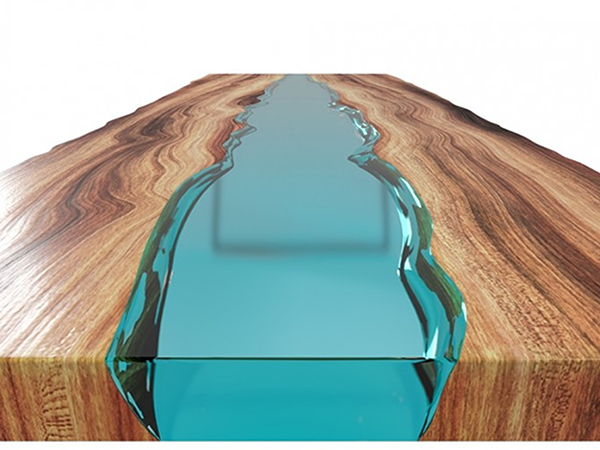
Table made of resin
Types of Resins
Epoxy Resins: Known for their exceptional adhesive properties and mechanical strength, epoxy resins are widely used in coatings, adhesives, and composite materials.
Polyester Resins: Common in the production of fiberglass and a variety of molded products, polyester resins are appreciated for their ease of use and cost-effectiveness. They cure quickly and can be used to produce strong, lightweight materials.
Polyurethane Resins: These resins are incredibly versatile, found in everything from flexible foam for upholstery to rigid foam used in insulation.
Acrylic Resins: Used predominantly in paints, coatings, and adhesives, acrylic resins are valued for their clarity, weather resistance, and ease of application.
Phenolic Resins: Known for their high mechanical strength and heat resistance, phenolic resins are commonly used in electronics and as binding agents in composites and insulation materials.

Resin
Using resin involves several steps and requires attention to detail to achieve the desired outcome, whether for crafting, repairs, or industrial applications. The process can vary slightly depending on the type of resin you’re using (e.g., epoxy, polyester, polyurethane), but the general principles remain consistent. Here’s a comprehensive guide on how to use resin effectively:
Step-by-Step Guide to Using Resin
1. Gather Materials and Tools
● Resin and Hardener: Ensure you have the appropriate type of resin and its corresponding hardener.
● Measuring Cups: Use clear, disposable cups for accurate measurements.
● Stirring Sticks: Wooden or plastic sticks for mixing the resin.
● Mixing Containers: Disposable containers or silicone cups that can be reused.
● Protective Gear: Gloves, safety glasses, and a respirator mask to protect from fumes and skin contact.
● Mold or Surface: Silicone molds for casting, or a prepared surface if you’re coating or repairing something.
● Release Agent: For easy removal from molds.
● Heat Gun or Torch: To remove bubbles from the resin.
● Drop Cloths and Tape: To protect your workspace.
● Sandpaper and Polishing Tools: For finishing your piece if necessary.
2. Prepare Your Workspace
● Ventilation: Work in a well-ventilated area to avoid inhaling fumes.
● Protection: Cover your workspace with drop cloths to catch any drips or spills.
● Level Surface: Ensure the surface you’re working on is level to avoid uneven curing.
3. Measure and Mix Resin
● Read Instructions: Different resins have different mixing ratios. Carefully read and follow the manufacturer’s instructions.
● Measure Accurately: Use measuring cups to ensure the correct ratio of resin to hardener.
● Combine Components: Pour the resin and hardener into your mixing container.
● Mix Thoroughly: Stir slowly and consistently for the time specified in the instructions (typically 2-5 minutes). Ensure you scrape the sides and bottom of the container to mix thoroughly. Improper mixing can result in soft spots or incomplete curing.
4. Add Colors or Additives (Optional)
● Pigments: If coloring your resin, add pigments or dyes and mix thoroughly.
● Glitter or Inclusions: Add any decorative elements, ensuring they are evenly distributed.
● Pour Slowly: Pour the mixed resin into your mold or onto the surface slowly to avoid bubbles.
● Spread Evenly: Use a spatula or a spreader to distribute the resin evenly across the surface.
● Remove Bubbles: Use a heat gun or torch to gently pass over the surface, popping any air bubbles that rise to the top. Be careful not to overheat.
● Cure Time: Let the resin cure according to the manufacturer’s instructions. This can range from several hours to days, depending on the resin type and thickness of the layer.
● Protect from Dust: Cover your work with a dust cover or box to prevent dust and debris from settling on the surface.
5. Pour or Apply Resin
● Pour Slowly: Pour the mixed resin into your mold or onto the surface slowly to avoid bubbles.
● Spread Evenly: Use a spatula or a spreader to distribute the resin evenly across the surface.
● Remove Bubbles: Use a heat gun or torch to gently pass over the surface, popping any air bubbles that rise to the top. Be careful not to overheat.
6. Allow to Cure
● Cure Time: Let the resin cure according to the manufacturer’s instructions. This can range from several hours to days, depending on the resin type and thickness of the layer.
● Protect from Dust: Cover your work with a dust cover or box to prevent dust and debris from settling on the surface.
7. Demold or Uncover
● Demolding: Once the resin has fully cured, carefully remove it from the mold. If using a silicone mold, this should be straightforward.
● Surface Preparation: For surfaces, ensure the resin has set completely before handling.
8. Finish and Polish (Optional)
● Sand Edges: If necessary, sand the edges or surface to smooth any rough spots.
● Polish: Use polishing compounds and a buffing tool to achieve a glossy finish if desired.
9. Clean Up
● Dispose of Waste: Properly dispose of any leftover resin and cleaning materials.
● Clean Tools: Use isopropyl alcohol to clean mixing tools before the resin cures completely.
Safety Tips
● Wear Protective Gear: Always wear gloves, safety glasses, and a respirator if working in a poorly ventilated area.
● Avoid Inhalation: Work in a well-ventilated space or use an exhaust fan.
● Handle Carefully: Resin can cause skin irritation and allergic reactions, so handle it with care.
● Follow Disposal Guidelines: Dispose of resin materials according to local regulations.
Common Uses of Resin

Artwork made of resin
● Crafting: Jewelry, keychains, coasters, and other decorative items.
● Repairs: Fixing cracks and holes in surfaces like countertops, boats, and cars.
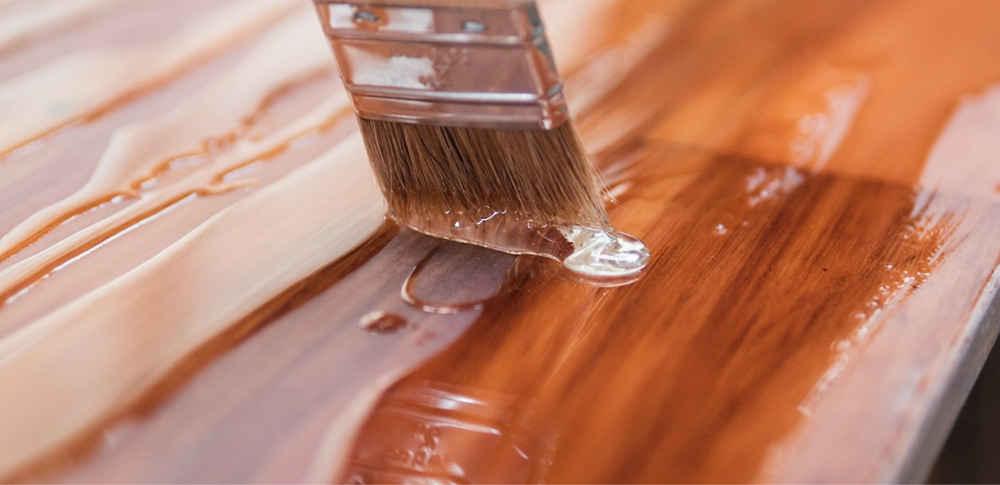
● Coatings: Providing a durable, glossy finish for tables, floors, and other surfaces.
● Casting: Creating molds for sculptures, toys, and prototypes.
CQDJ offers a wide range of resins, please feel free to contact us!
Contact Us:
Phone number:+8615823184699
Email: marketing@frp-cqdj.com
Website: www.frp-cqdj.com
Post time: Jun-14-2024


